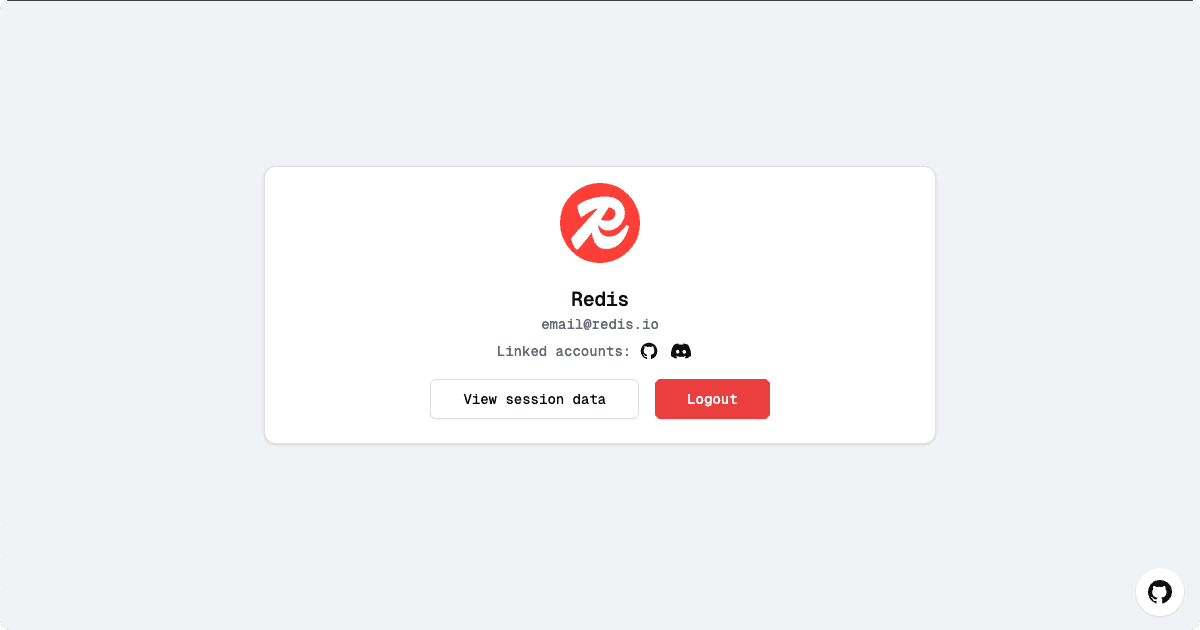
🚀 Next.js Redis Session Store Example
This Next.js project demonstrates how to use Redis as a session store for authentication. The application supports multiple authentication providers, offering a scalable and performant solution for your web applications.
📋 Table of Contents
- 🚀 Deploy with Redis Cloud on Vercel
- ✨ Features
- 🌱 Getting Started
- 🛠️ Configuration
- 💾 Session Management with Redis
- 🗂️ Project Structure
- 📜 Available Scripts
- 📚 Learn More
- 🤝 Contributing
- 📄 License
🚀 Deploy with Redis Cloud on Vercel
Follow these steps to deploy your application with Redis Cloud on Vercel:
- Click the "Deploy" button below to start the deployment process:
- In the Vercel UI, create a new repository for your project.
- Add Redis as a store in the Vercel UI. This will automatically set your
REDIS_URLenvironment variable.
- Wait for the deployment to complete.
- Once deployed, use the URL of your deployed app to set up the authentication providers. See the Configuration section below for detailed instructions for setting these up. By default, the template is configured to use GitHub and Discord. Only one provider is required.
✨ Features
- 🗄️ Redis Session Store: Utilizes Redis for storing session data
- 🔐 NextAuth.js Integration: Implements authentication using NextAuth.js with a custom Redis adapter
- 🌐 Multiple Authentication Providers: Supports GitHub and Discord authentication
- ⚙️ Dynamic Configuration: Easily enable or disable authentication providers via environment variables
🌱 Getting Started
-
Install dependencies:
npm install# oryarn install# orpnpm install -
Run the development server:
npm run dev# oryarn dev# orpnpm dev -
Open http://localhost:3000 in your browser to see the application.
🛠️ Configuration
Setting Up Redis
Ensure you have a Redis server running and configure the connection in your .env file:
Note: If you deployed using Vercel with Redis Cloud, this will be automatically set for you.
Enabling/Disabling Authentication Providers
Configure authentication providers by setting or omitting their respective environment variables in your .env file:
- To enable a provider: Set both the
CLIENT_IDandCLIENT_SECRET - To disable a provider: Remove or comment out the
CLIENT_IDandCLIENT_SECRET
Provider-Specific Configuration
GitHub- Go to GitHub Developer Settings
- Click on "New OAuth App"
- Fill in the application details:
- Application name: Your app name
- Homepage URL: https://your-vercel-app-url.vercel.app
- Authorization callback URL: https://your-vercel-app-url.vercel.app/api/auth/callback/github (or your local URL if you're running it locally)
- Click "Register application"
- Copy the Client ID and generate a new Client Secret
- Add these to your Vercel project's environment variables as
GITHUB_CLIENT_IDandGITHUB_CLIENT_SECRET
Example:
Discord
- Go to the Discord Developer Portal
- Click on "New Application"
- Give your application a name and create it
- Go to the "OAuth2" tab in the left sidebar
- Add a redirect URL: https://your-vercel-app-url.vercel.app/api/auth/callback/discord (or your local URL if you're running it locally)
- Copy the Client ID and Client Secret
- Add these to your Vercel project's environment variables as
DISCORD_CLIENT_IDandDISCORD_CLIENT_SECRET
Example:
Adding Additional Providers
To add more authentication providers:
- Install the provider package (if required)
- Update the NextAuth configuration in
app/api/auth/[...nextauth]/route.js - Add the necessary environment variables
Example for adding Google provider:
For more information on adding and configuring providers, refer to the NextAuth.js documentation on providers.
NextAuth.js Secret
Generate a secure NEXTAUTH_SECRET:
Add this to your Vercel project's environment variables as NEXTAUTH_SECRET.
💾 Session Management with Redis
This application leverages Redis for efficient session data storage, offering:
- ⚡ High Performance: Fast read/write operations with in-memory data store
- 📈 Scalability: Share session data across multiple application instances
- 💽 Optional Persistence: Configure Redis to persist data to disk for recovery
🗂️ Project Structure
📜 Available Scripts
npm run dev: Run the app in development modenpm run build: Build the app for productionnpm run start: Start the production buildnpm run lint: Run linting on the codebase
📚 Learn More
Explore these resources to deepen your understanding:
- Next.js Documentation
- NextAuth.js Documentation
- Redis Documentation
- Redis Clients for Node.js
- Environment Variables in Next.js
🤝 Contributing
We welcome contributions! If you have ideas, suggestions, or encounter issues, please open an issue or submit a pull request.
📄 License
This project is open source and available under the MIT License.
Related Templates
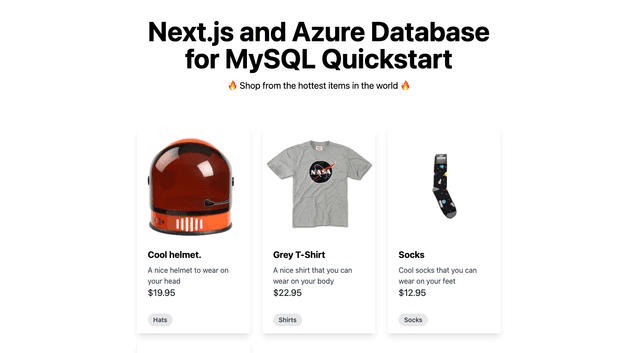
Next.js Prisma Azure MySQL Starter

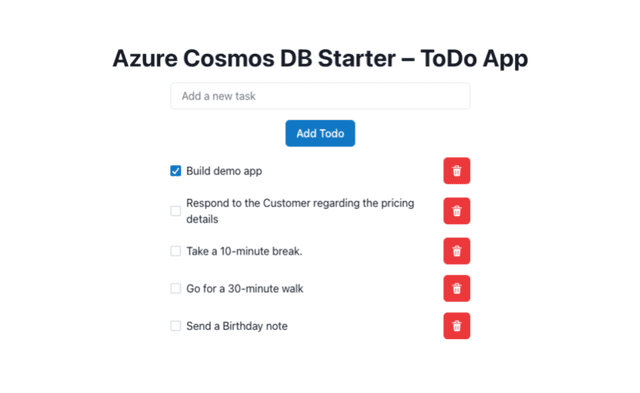
Azure CosmosDB - Next.js Starter

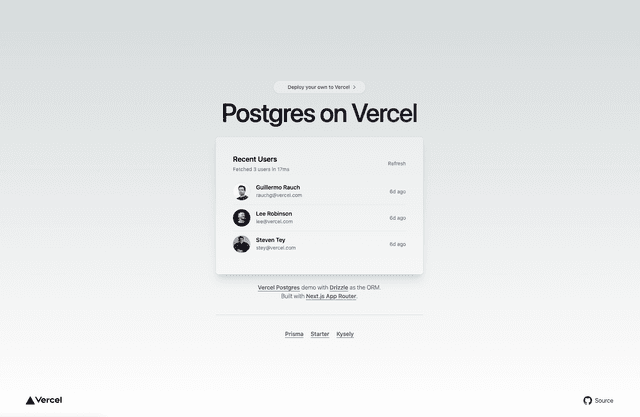
Postgres + Drizzle Next.js Starter
