Stablo Blog Template - Next.js & Sanity CMS
Stablo is a JAMStack Blog template built with Next.js, Tailwind CSS & Sanity CMS by Web3Templates. It comes with free & pro version.
Installation ↓
Live Demo
Features
| Feature | Free Version | Pro Version |
|---|---|---|
| Next.js v13 | ✅ | ✅ |
| /app Directory | ✅ | ✅ |
| Tailwind CSS | ✅ | ✅ |
| Sanity CMS (v3) | ✅ | ✅ |
| On-demand Revalidation | ❌ | ✅ |
| Auto-Update New Posts | Time-Based | ✅ |
| Mobile Responsive | ✅ | ✅ |
| Dark & Light Mode | ✅ | ✅ |
| Working Contact Page | ✅ | ✅ |
| Archive (Pagination) | ✅ | ✅ |
| Category Pages | ❌ | ✅ |
| Author Pages | ❌ | ✅ |
| Search Page | ❌ | ✅ |
| Homepage - Default | ✅ | ✅ |
| Homepage - Alternate | ❌ | ✅ |
| Homepage - Minimal | ❌ | ✅ |
| Homepage - Lifestlye | ❌ | ✅ |
| Homepage - Two Column | ❌ | ✅ |
| Blog Post - Default | ✅ | ✅ |
| Blog Post - Minimal | ❌ | ✅ |
| Blog Post - Lifestlye | ❌ | ✅ |
| Blog Post - with Sidebar | ❌ | ✅ |
| 6 Months Support | ❌ | ✅ |
| Free Updates | ✅ | ✅ |
| License | GPL-2.0 | Commercial |
| Pricing | Free | $49 |
| Deploy for free | Purchase Pro |
Click the above button for one-click clone & deploy for this template. Read quick start guide below.
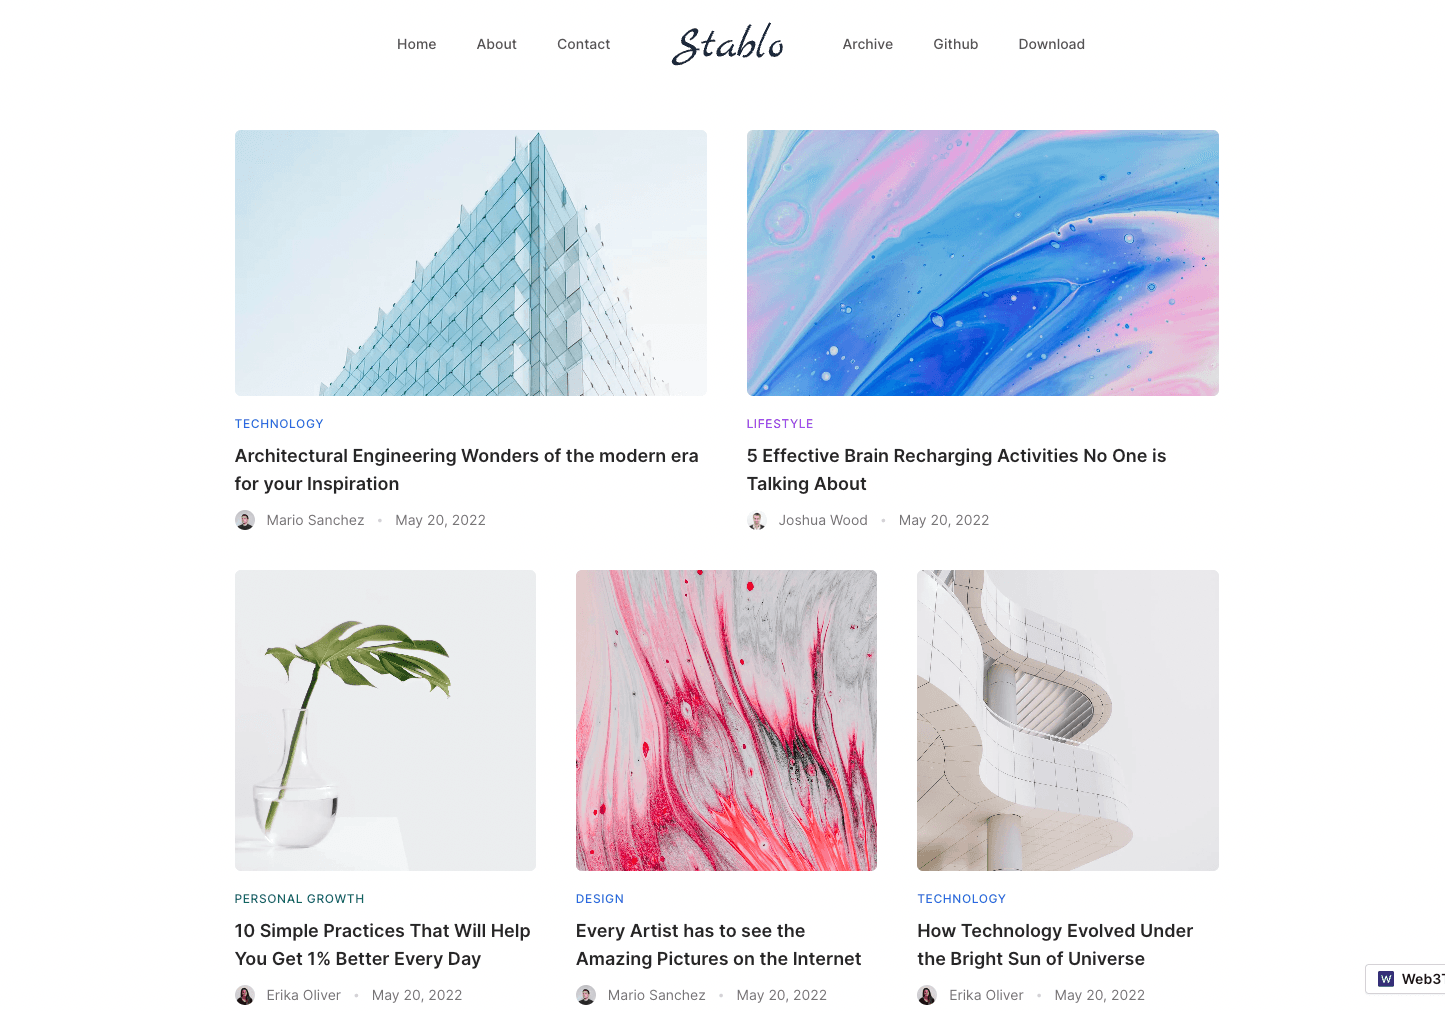
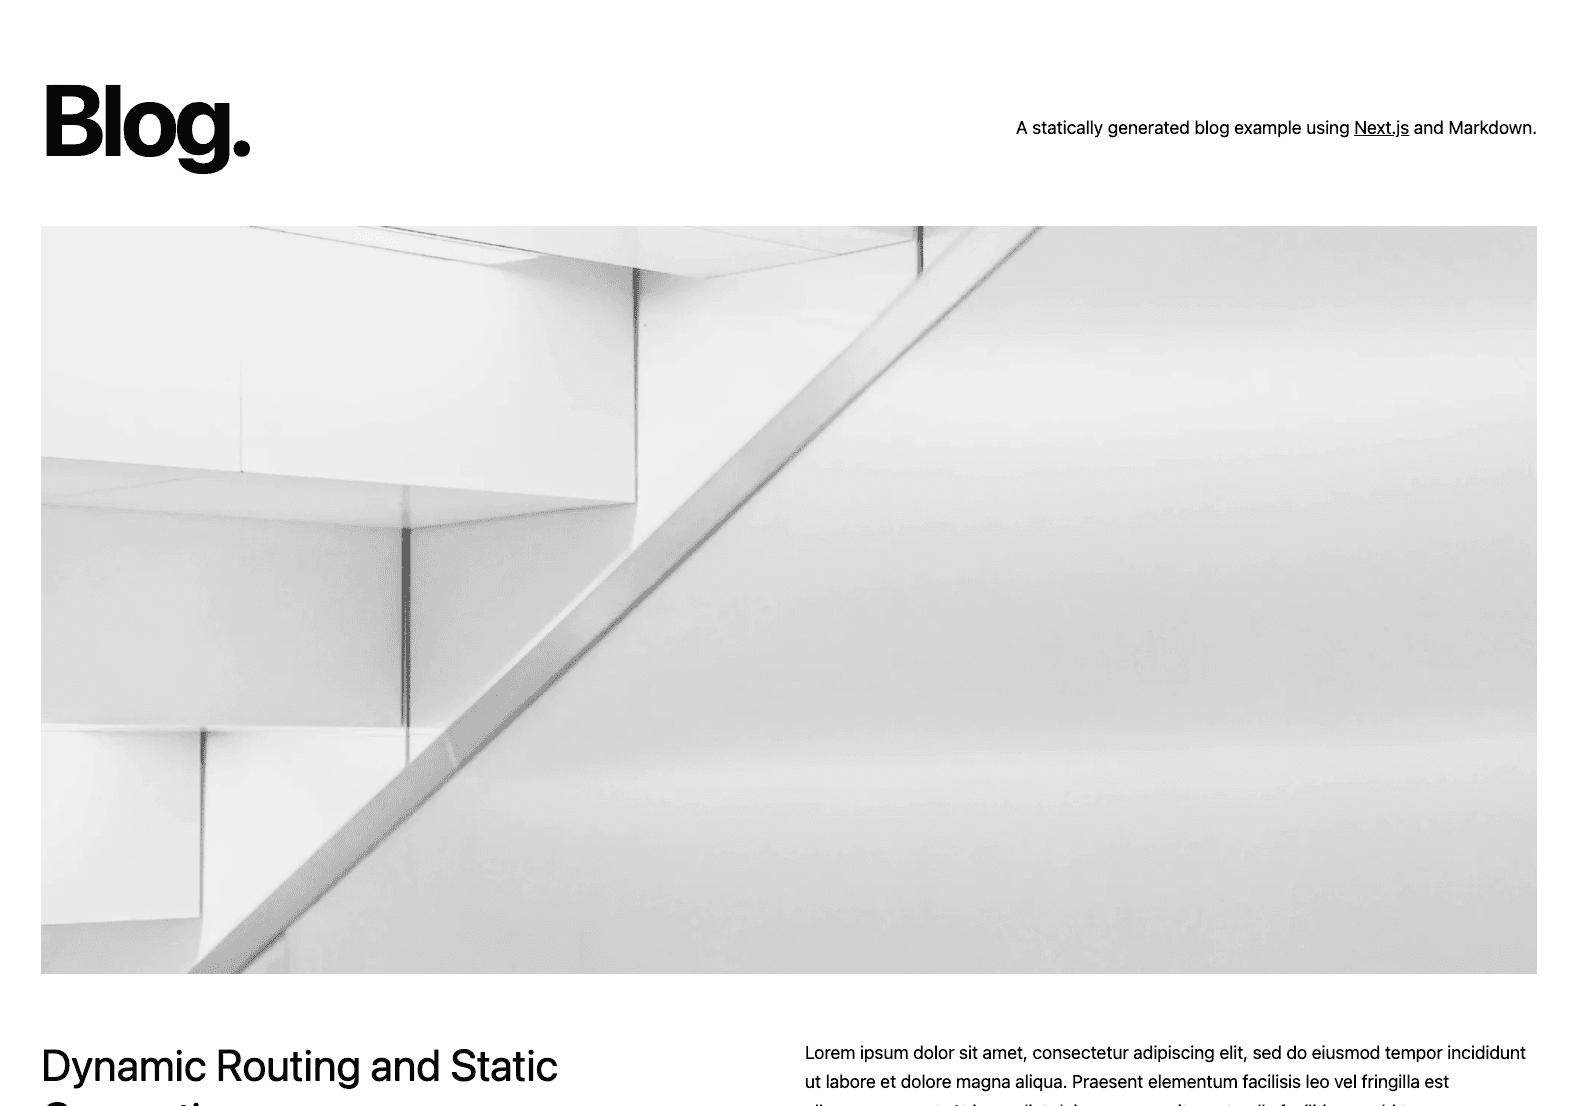
Template Preview
Sanity CMS Preview
Installation
Step 1: Deploy to Vercel
Use the Deploy Button below. It will let you deploy the starter using Vercel as well as connect it to your Sanity Studio using the Sanity Vercel Integration.
The above deploy will automatically configure the following:
- Create new Repository in Github
- Create a Sanity Project
- Install Sanity Integration in Vercel
- Add required CORS & API settings in the project
- Deploy Frontend to Vercel
Alternatively, you can deploy to other services such as Netlify or Cloudflare Pages or AWS Amplify.
Step 2: Set up the project locally.
Once you have deployed the website, it will look like empty or not configured properly. This is expected. We need to do few more steps to make it as seen on the demo.
First, clone the github repository vercel created into your local machine. Use the following command structure. Make sure the terminal is on the right folder before executing this command.
Once cloned, run the following command from the project's root directory. This will link your vercel project.
Now, run the following command to pull the .env variables to your local system.
Now you can see that a new .env.local file has been created. If this doesn't work, you can also rename the .env.local.example to .env.local and add the Sanity Project ID manually.
Now, you can open your code editor (if not already) we prefer VSCode. The run the command in the integrated terminal inside the code editor.
We prefer pnpm to save your disk space.
Step 3: Import Demo Data (Optional)
To look like what you have seen in the demo, with all the content and images, follow the below steps:
- if you have not installed
@sanity/cliinstall it globally first.
Then login to sanity using sanity login command
Now, you will be able to import demo content by running the sanity-import command. The files are located at /lib/sanity/data/production.tar.gz and will load automatically by running the below command.
Step 4: Finish it up!
Now, run your project using the below command.
Now your project should be up and the Next.js frontend will be running on http://localhost:3000.
Sanity Studio can be accessed using http://localhost:3000/studio or you can run it on a separate https://localhost:3333 server using the following command.
Step 5. Redploy
Once all of the above changes is made, make sure to redeploy to vercel once again to see all of your changes in production.
You can git push the changes and it should automatically trigger a new deployment. If not, you can also deploy to vercel using the following command.
Manual Installation
We recommend you to use the one-click deploy option above. For some reason, if you cannot, use the following steps to install it manually.
Step 1. Clone the Repo
Clone the github repo or use the downloaded files in your local machine.
Step 2. Setup .env Variables.
Open the project folder and rename .env.local.example placed in the root folder into .env.local and add your sanity project ID. You can create a new project by visiting this link: https://www.sanity.io/get-started/create-project
If you already have a project, copy the project ID from https://sanity.io/manage
Step 3. Allow CORS Origins
To make the studio work properly, you must add CORS origin in Sanity. This is usually setup automatically if you are using the Vercel Deploy. Visit https://www.sanity.io/manage/personal/project/<project-id>/api in your browser to add CORS origin.
Click Add CORS origin button and enter the URL as http://localhost:3000 and check the Allow credentials checkbox.
Step 4 Continue from above steps
Now, you will be able continue from the above instructions to import the demo data and running the project locally.
Help and Support
Something's not working as expected? Raise a github issue. If you need personalized support or help, please consider purchasing the Pro version and we will assist you over email.
