

Have you ever enabled voice mode in ChatGPT and lost track of time chatting with the agent? The natural back-and-forth of voice conversation creates an experience that text alone can't match. If you want to bring this same conversational magic to your web application, this guide shows you how.
Voice AI agents require long-running processes to maintain WebSocket connections, process audio streams, and run machine learning models. Traditional serverless functions can't handle these requirements due to execution time limits and cold start issues. Vercel Sandbox solves this by providing on-demand, isolated environments that run for the duration of a voice conversation and automatically clean up when finished.
This guide shows you how to build a voice agent application where each user session creates its own ephemeral agent environment, eliminating the need to manage persistent servers while maintaining the performance needed for real-time voice interactions.
In this guide, you will learn:
- How to create on-demand Vercel sandboxes for LiveKit voice agents.
- The architecture of a Next.js frontend that manages sandbox lifecycle.
- How to handle real-time progress feedback during application initialization.
These steps describe the interaction flow between the user and the Live voice agent in Vercel Sandbox:
- A user clicks Start call in their browser
- The Next.js frontend calls
/api/sandbox/create - The Next.js backend initiates the creation of a Vercel Sandbox
- The sandbox clones the Livekit python agent repository, installs dependencies, and starts the agent
- The agent connects to LiveKit Cloud and waits in the room
- The frontend polls
/api/sandbox/statusfor progress - When ready, the frontend connects the user to the LiveKit room
- The user and agent communicate through LiveKit Cloud
- After 10 minutes (configurable), the sandbox expires automatically
Vercel Sandbox creates isolated compute environments that can run long-running processes. Unlike Functions, which are designed for request-response patterns and have strict execution time limits, sandboxes can maintain websocket connections and run processes for extended periods.
Each sandbox is isolated, ensuring users don't interfere with each other's sessions.
Before you begin, ensure you have:
- Node.js 18+ installed
- A Vercel account with access to Vercel Sandbox API
- A LiveKit cloud account with API credentials
Use the Voice Agent with Vercel Sandbox example repository in one of the following two methods:
Deploy directly on Vercel by using the one-click deploy with Vercel.
- Follow the steps in the browser to connect with your Github account
- Enter the environment variables
LIVEKIT_API_KEY,LIVEKIT_API_SECRETandLIVEKIT_URLby creating a Livekit cloud account and a free project to get these values - Vercel will deploy a new project with these values
- Open the deployment URL and test the voice agent. Click Start call. You will need wait for the sandbox to be created after which you can have a voice conversation with the agent
Clone and deploy from your terminal
Install the Vercel CLI if you haven't already:
Run the following command to link your application with a new project and follow the prompts:
Run the vc env to pull the value of VERCEL_OIDC_TOKEN locally. This will create your .env.local file.
Obtain the LIVEKIT_API_KEY , LIVEKIT_API_SECRET and LIVEKIT_URL environment variables by creating a Livekit cloud account and a free project to get these values.
Copy the contents of env.example below the Vercel sandbox section to .env.local in your Next.js project and update the values.
Test your application locally with:
Browse to http://localhost:3000 and click Start Call. Wait for your sandbox to be ready and start talking to the voice agent!
Deploy using the Vercel CLI to test in a preview deployment:
Open the deployment URL and test the voice agent. Click Start call.
The Python agent runs inside Vercel Sandbox and is automatically cloned from the agent-starter-python repository.
When you create a sandbox, it goes through several stages: creating, installing dependencies, starting the agent, and finally becoming ready. The sandbox manager tracks which stage each sandbox is in using an in-memory Map:
This pattern lets your frontend display progress updates while the sandbox initializes. Sandboxes expire after their configured timeout (default 10 minutes).
This API endpoint creates a new Vercel Sandbox, clones the Python agent code, installs dependencies, and starts the agent. Since this takes 20-40 seconds, the endpoint returns immediately and continues setup in the background.
The key part is the Sandbox.create() call, which provisions the isolated environment:
The setupSandbox function runs in the background. It uses sandbox.runCommand() to execute shell commands inside the sandbox:
The detached: true option keeps the agent running after the command returns. Environment variables pass LiveKit credentials to the agent process.
The frontend polls this endpoint every second to check if the sandbox is ready:
The endpoint returns the full sandbox object including its current status creating, installing, starting, ready, or failed) and a ready boolean that indicates when the frontend should connect to LiveKit.
The React hook manages sandbox lifecycle on the frontend. It handles creating sandboxes, polling for status updates, and tracking progress through different states.
The core pattern is a polling loop that checks the sandbox status every second until it's ready:
The hook also stores the sandbox ID in localStorage so users can resume their session after a page reload (within 10 minutes). See the full implementation in the example repository for session persistence and progress animation.
The welcome screen uses the hook to create sandboxes and auto-connects users when ready:
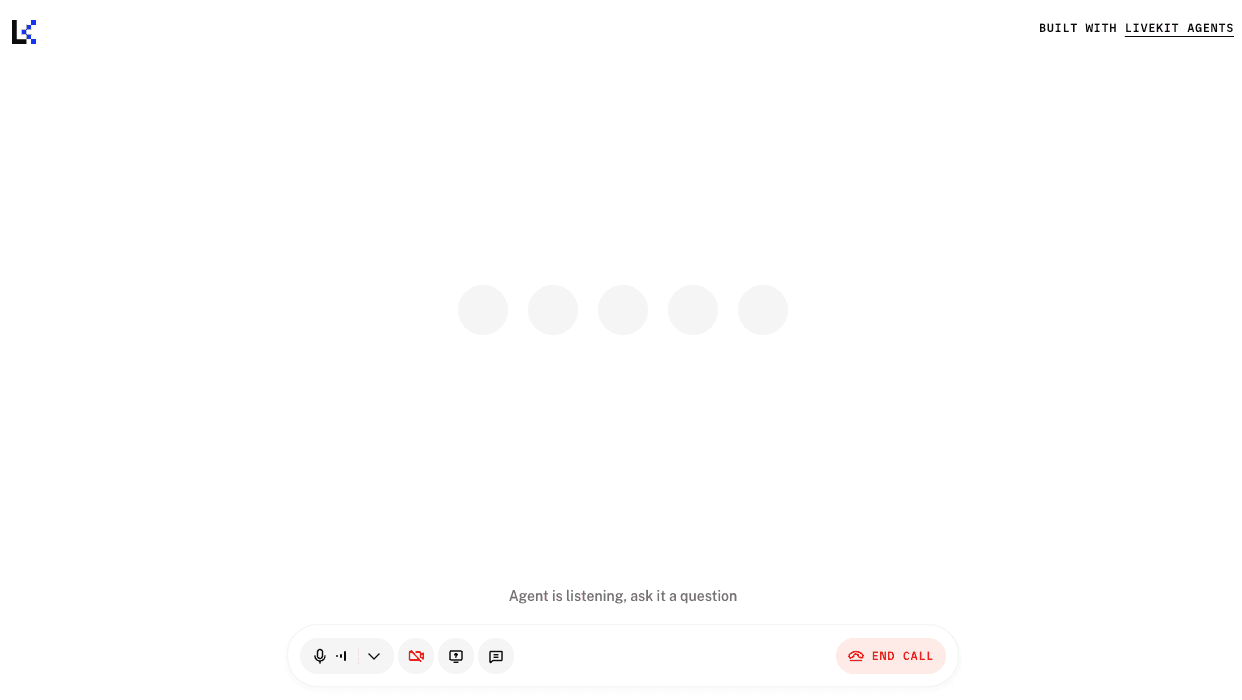
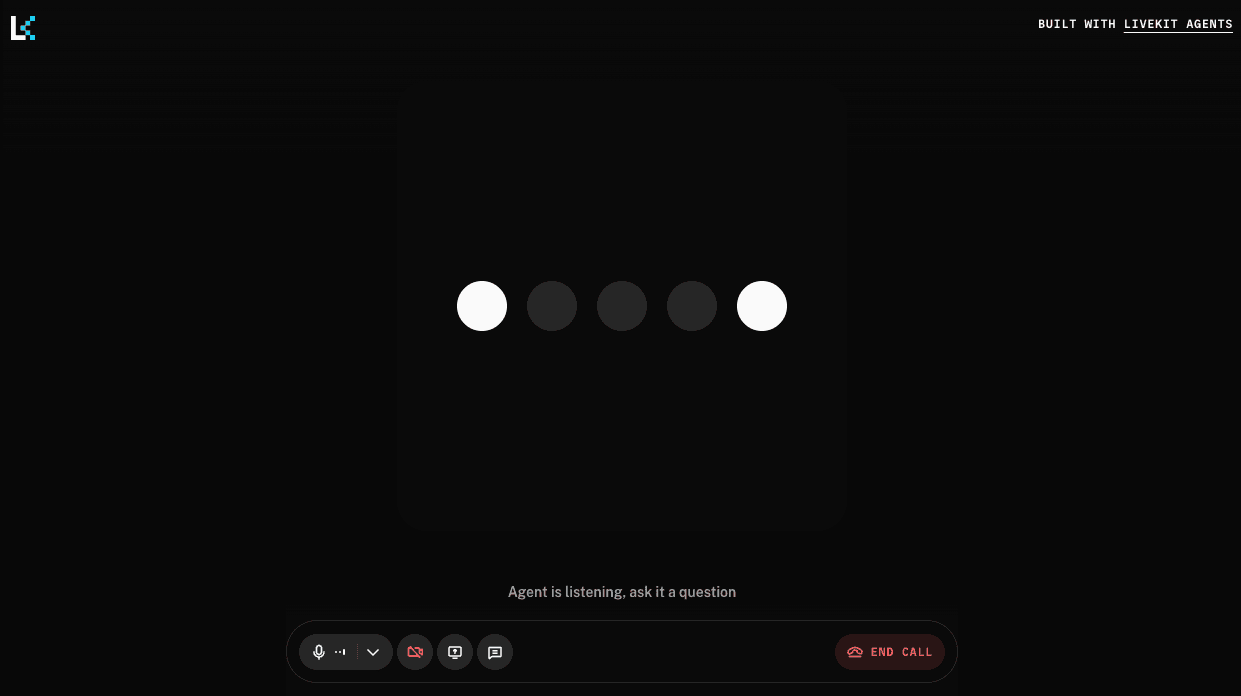
When the user clicks Start call, the component calls createSandbox(). The effect watches for the ready status and automatically triggers onSandboxReady, which connects the user to the LiveKit room to enable the conversation with the voice agent.
After deploying your application, you can monitor active sandboxes in the Vercel dashboard. This helps you understand usage patterns, debug issues, and track costs.
Navigate to your project in the Vercel dashboard and click on the Sandboxes tab. Here you'll see:
- Active sandboxes: Currently running sandbox instances
- Sandbox ID: Unique identifier for each sandbox
- Created: When the sandbox was created
- Status: Current state (running, stopped, or failed)
- Runtime: The runtime environment (e.g., python3.13)
- Resources: Allocated vCPUs and memory
Click on any sandbox to view its logs. This shows:
- Standard output from your agent process
- Error messages if the agent fails
- Dependency installation progress
- LiveKit connection status
Agent initialization takes 20-40 seconds due to model downloads. Reduce this by pre-loading models when the agent server starts in the Python agent code:
Fork the agent-starter-python repository to customize:
- Voice model and personality
- Response latency settings
- Custom tools and function calling
- STT/TTS provider selection
Review the LiveKit Voice Agent settings documentation to see all available configuration options for speech recognition, language models, and text-to-speech.
Update AGENT_REPO_URL in your environment variables to use your forked repository.
You've built a voice AI application that creates isolated agent environments on-demand using Vercel Sandbox. This architecture provides the benefits of cloud scaling while maintaining the performance characteristics needed for real-time voice conversations.
To learn more, explore